Media file settings
🕐 Read time: 4 min
Written By Clark Yuan
Last updated About 2 months ago
Overview
Media files in Stitch3D include orthophotos, oblique photos, 360° panoramic images, and smartphone inspection photos. Once uploaded, each media file has its own File Information Panel with a preview window, capture metadata, and quick-access controls.
Like GCPs, media files appear in either or both the 2D and 3D viewers automatically, regardless of whether your Project is Quickstart or Georeferenced. However, the Project must first have a corresponding raster or point cloud layer for the media to populate.
ℹ️ Note: Media files must include GPS geotag data (latitude and longitude) in their EXIF metadata to be placed correctly in the viewer. Files without location data cannot be uploaded. See How to upload media files for details.
Media file icons in the viewer
Stitch3D uses two distinct icons to distinguish media types at a glance in the viewer:
Icon | Media type |
 | Standard 2D photos (orthophotos, obliques, inspection images) |
 | 360° panoramic images |
💡 Tip: Hover over any media icon in the viewer to see a quick preview of the image without opening the full panel.
How to open the File Information Panel
Open a Project and enter the viewer.
Locate the Layers Panel on the left side of the viewer.
Click on a media file name in the Layers Panel.
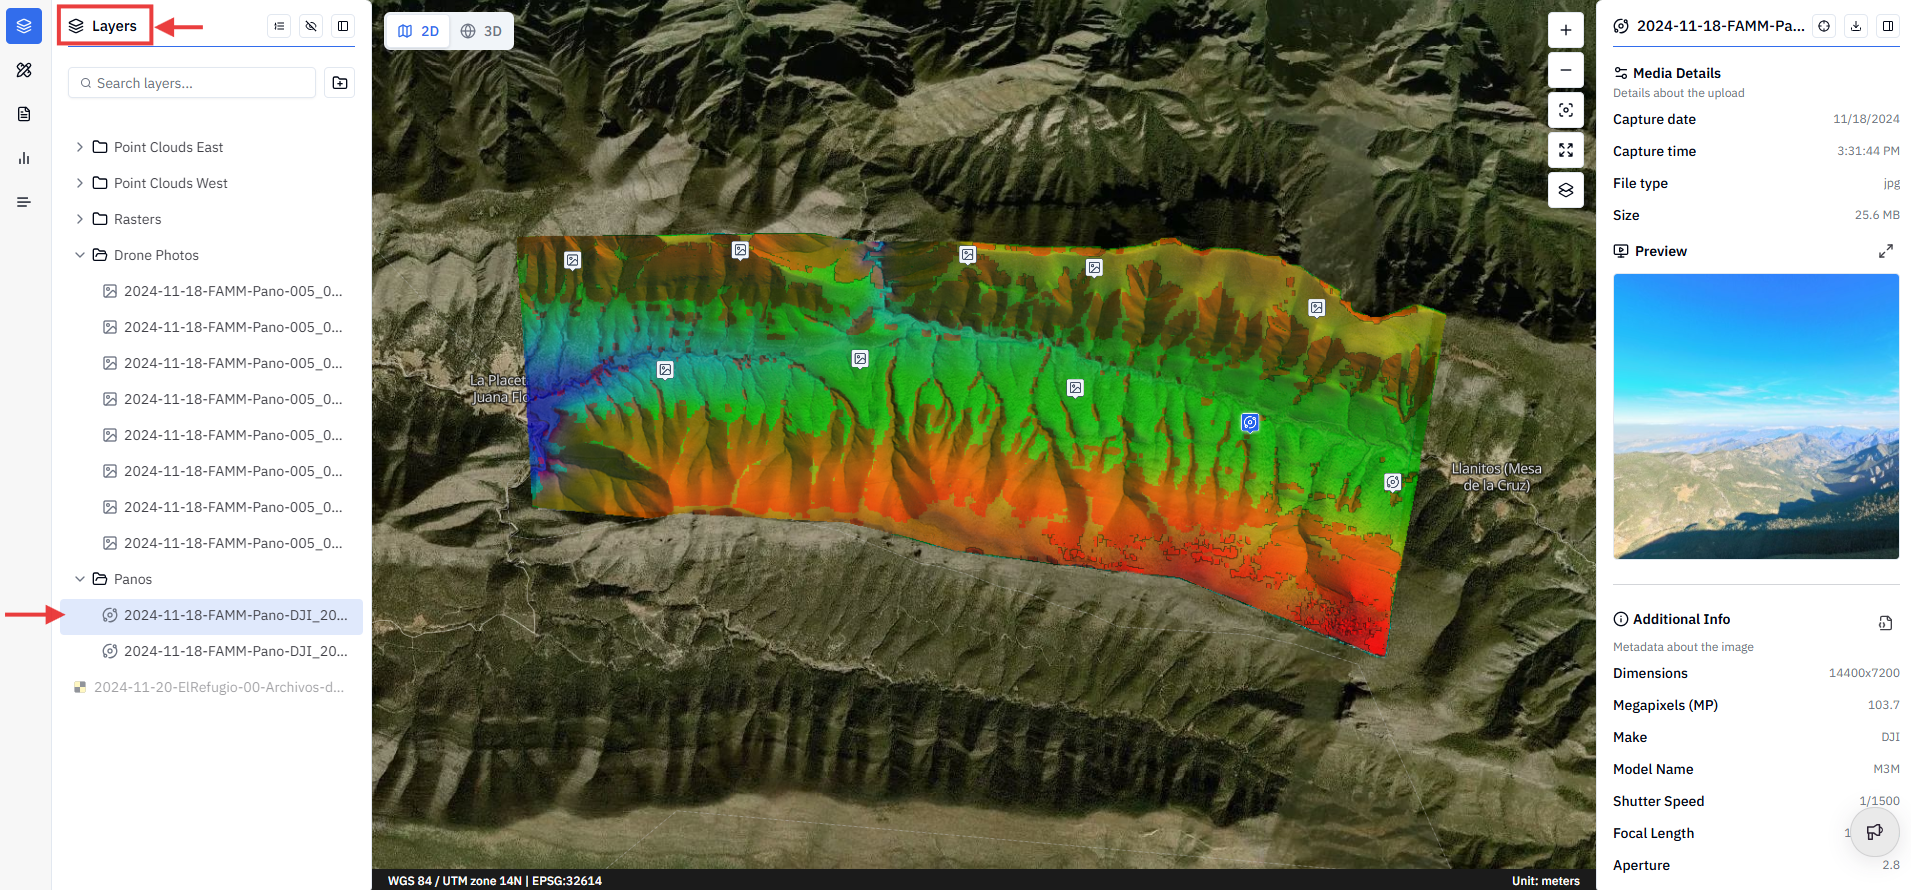
✅ The File Information Panel opens on the right side of the viewer.
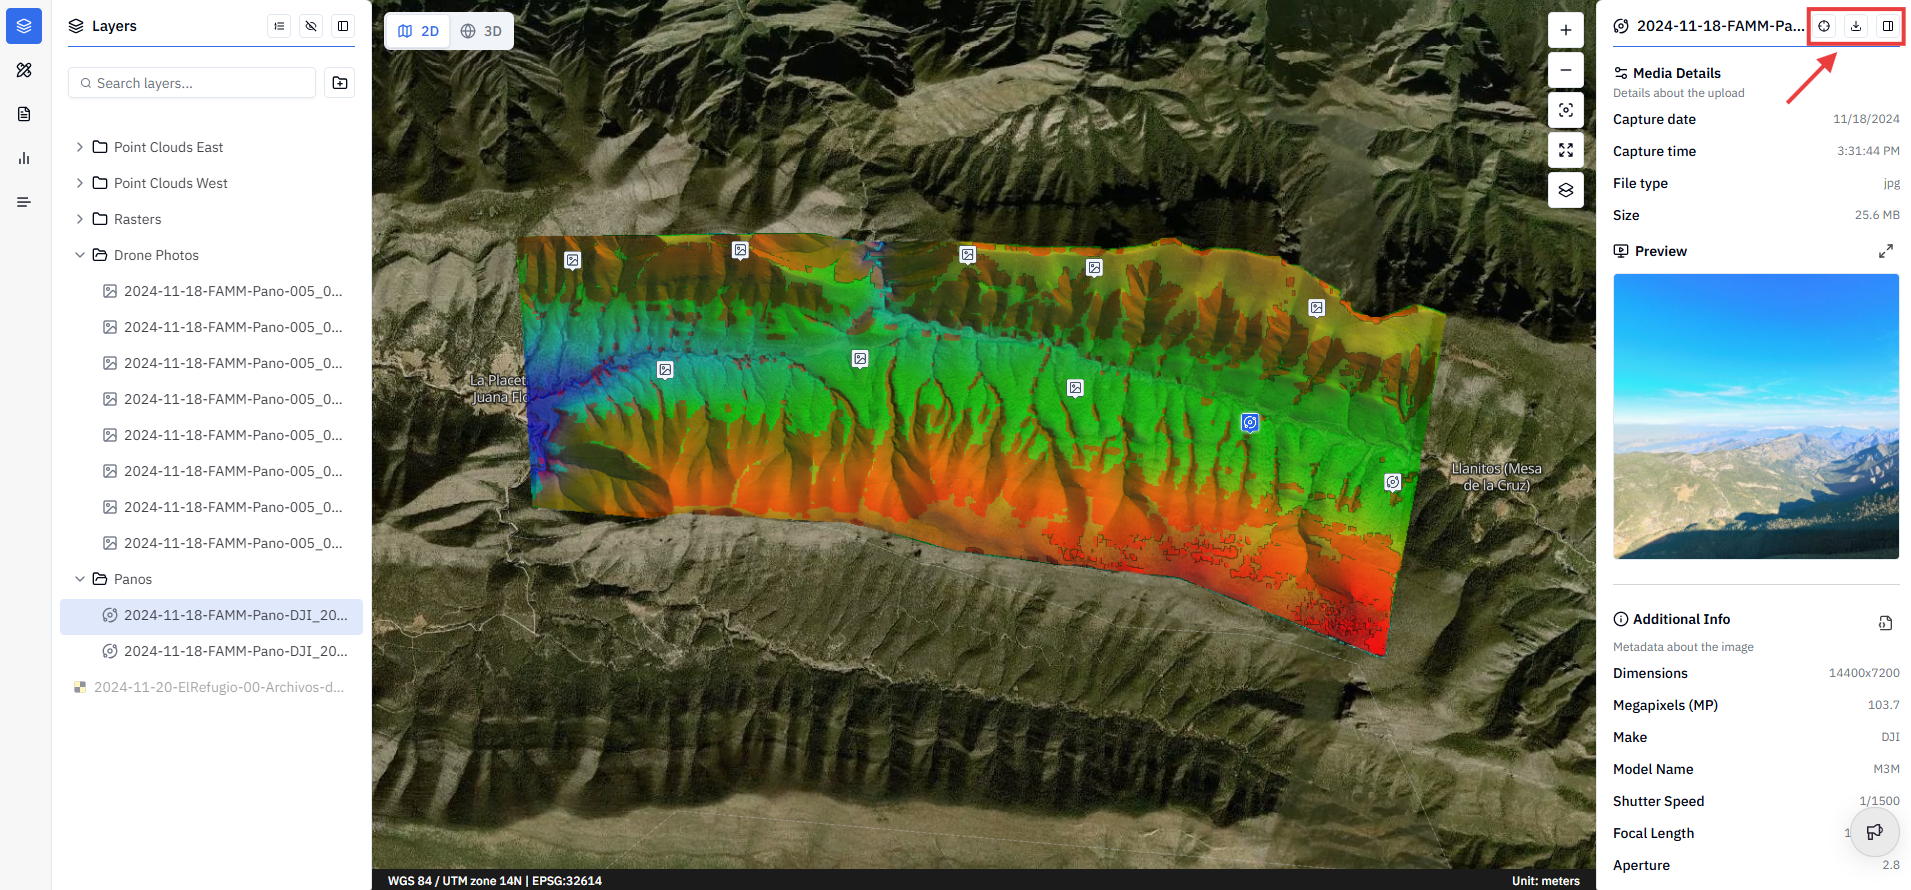
Panel controls
At the top of the File Information Panel, three controls are available for quick access:
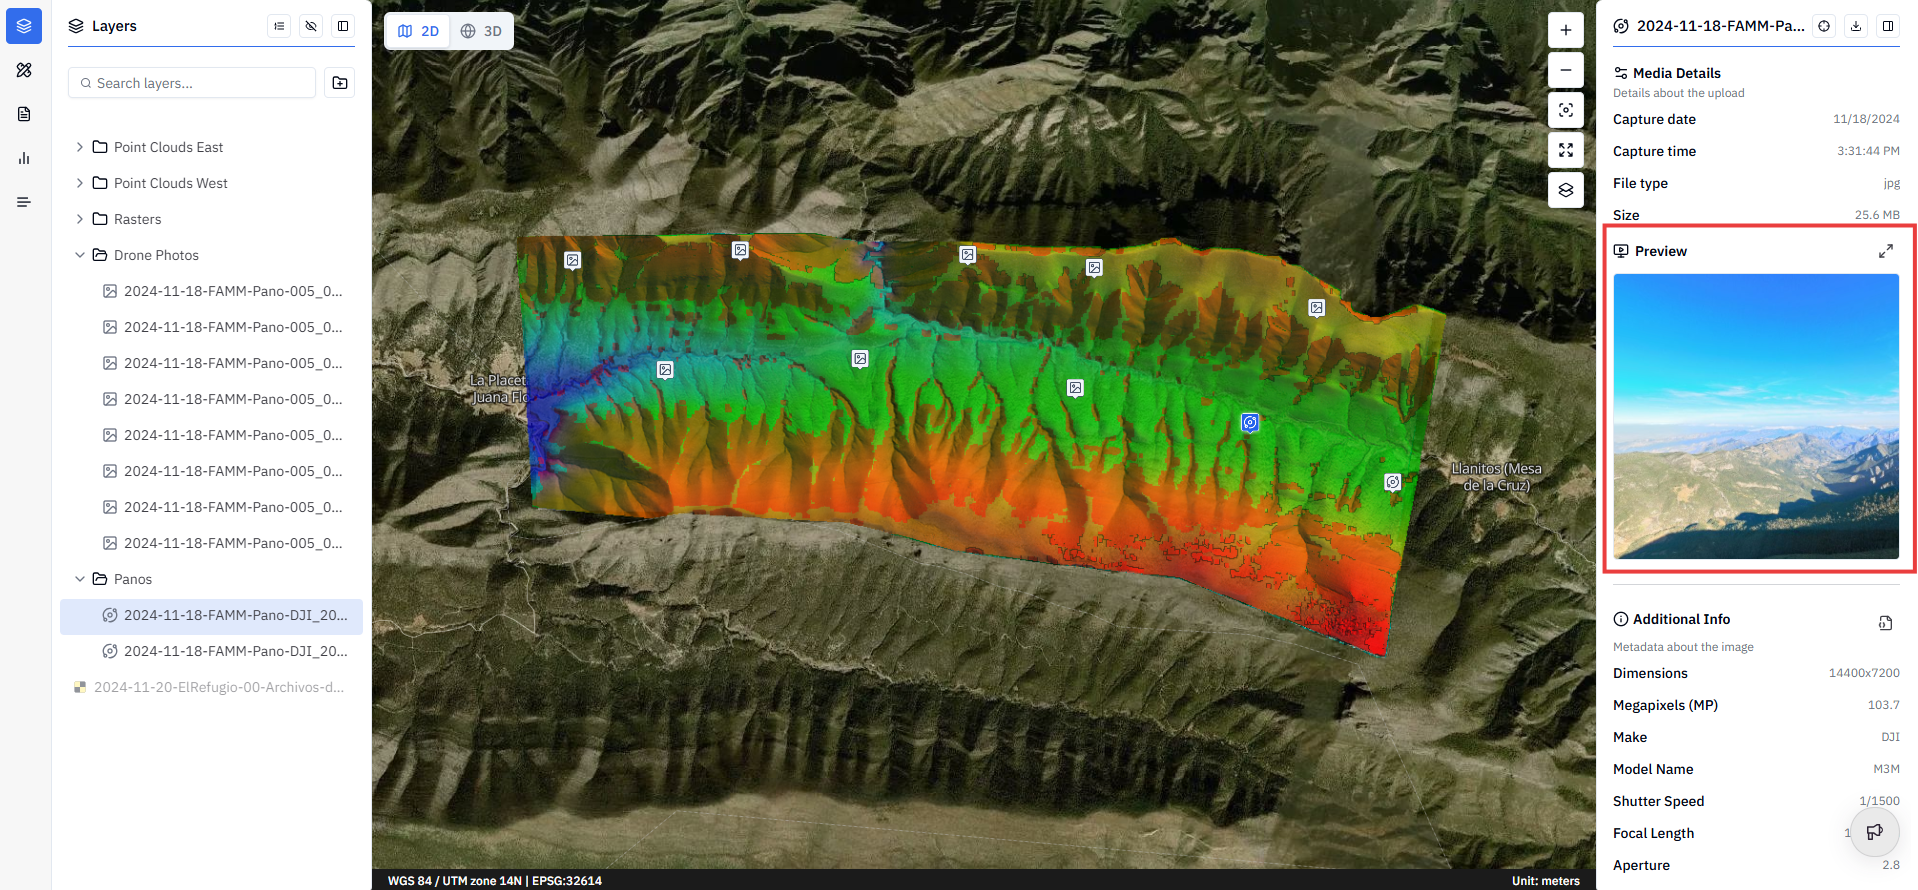
Preview window
The File Information Panel includes a preview window that displays the image directly inside the panel.
For standard 2D photos, the preview is a static image.
For 360° panoramic images, the preview is a mini interactive viewer. Click and drag inside the preview to look around the panorama without opening the full-screen view.
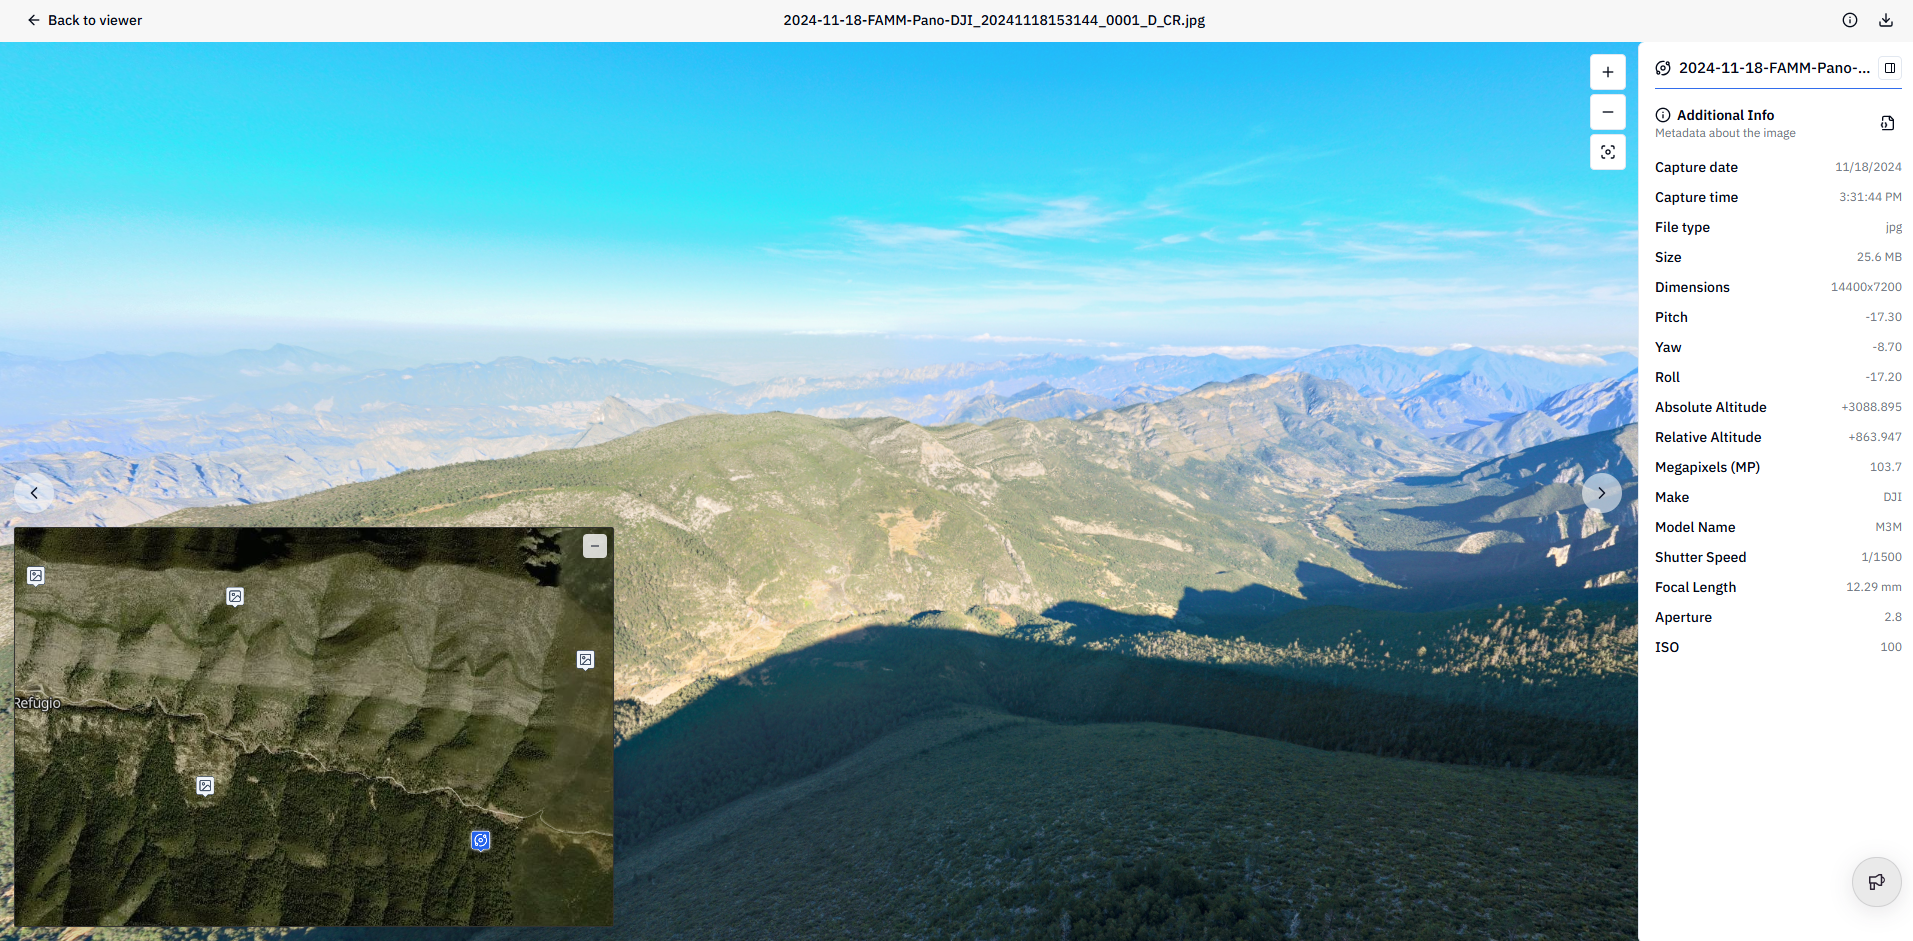
Opening the full-screen viewer
Click the Expand button above the preview window to open the image in full screen.

Inside the full-screen viewer:
A mini-map in the bottom left corner shows the location of the current media file on the map. Click the icon in the mini-map to jump to that file's position in the viewer.
Left and right arrows let you navigate to the previous or next media file in the Project. This is useful for moving through a sequence of inspection photos quickly without returning to the Layers Panel each time.
💡 Tip: Use the left and right arrows in the full-screen viewer for rapid site inspections. Uploading inspection photos in sequence lets you step through an entire structure or site visit in order, one image at a time.
File information
Below the preview window, the panel displays key metadata about the file:
Additional Info
The Additional Info section displays camera and capture settings embedded in the image file at the time of capture:
Viewing full metadata
To see the complete set of metadata stored in the file, click Display to view the full JSON metadata object. This includes all EXIF fields captured by the sensor — useful for advanced workflows, quality control, and troubleshooting georeferencing issues.
💡 Tip: The full JSON metadata is particularly useful when troubleshooting why a photo isn't appearing in the correct location. Checking the raw GPS fields (latitude, longitude, altitude) in the JSON confirms whether the EXIF geotag data was written correctly by the camera or drone.
ℹ️ Note: Metadata displayed in the panel is read-only. It is taken directly from the EXIF data embedded in the file at capture and cannot be edited in Stitch3D.