How to measure Volume
🕐 Read time: 6 min
Written By Clark Yuan
Last updated 23 days ago
Overview
The volume tool in Stitch3D lets you calculate the volume of any object in your point cloud including stockpiles, excavations, and earthworks. Results include cut/fill and net volumes, horizontal and surface areas, and an optional material value estimate based on your chosen material type.
ℹ️ Note: The volume tool is one of five annotation types in Stitch3D. The others are Point, Distance, Area, and Profile.
Before you start
The volume tool has two requirements before it becomes active:
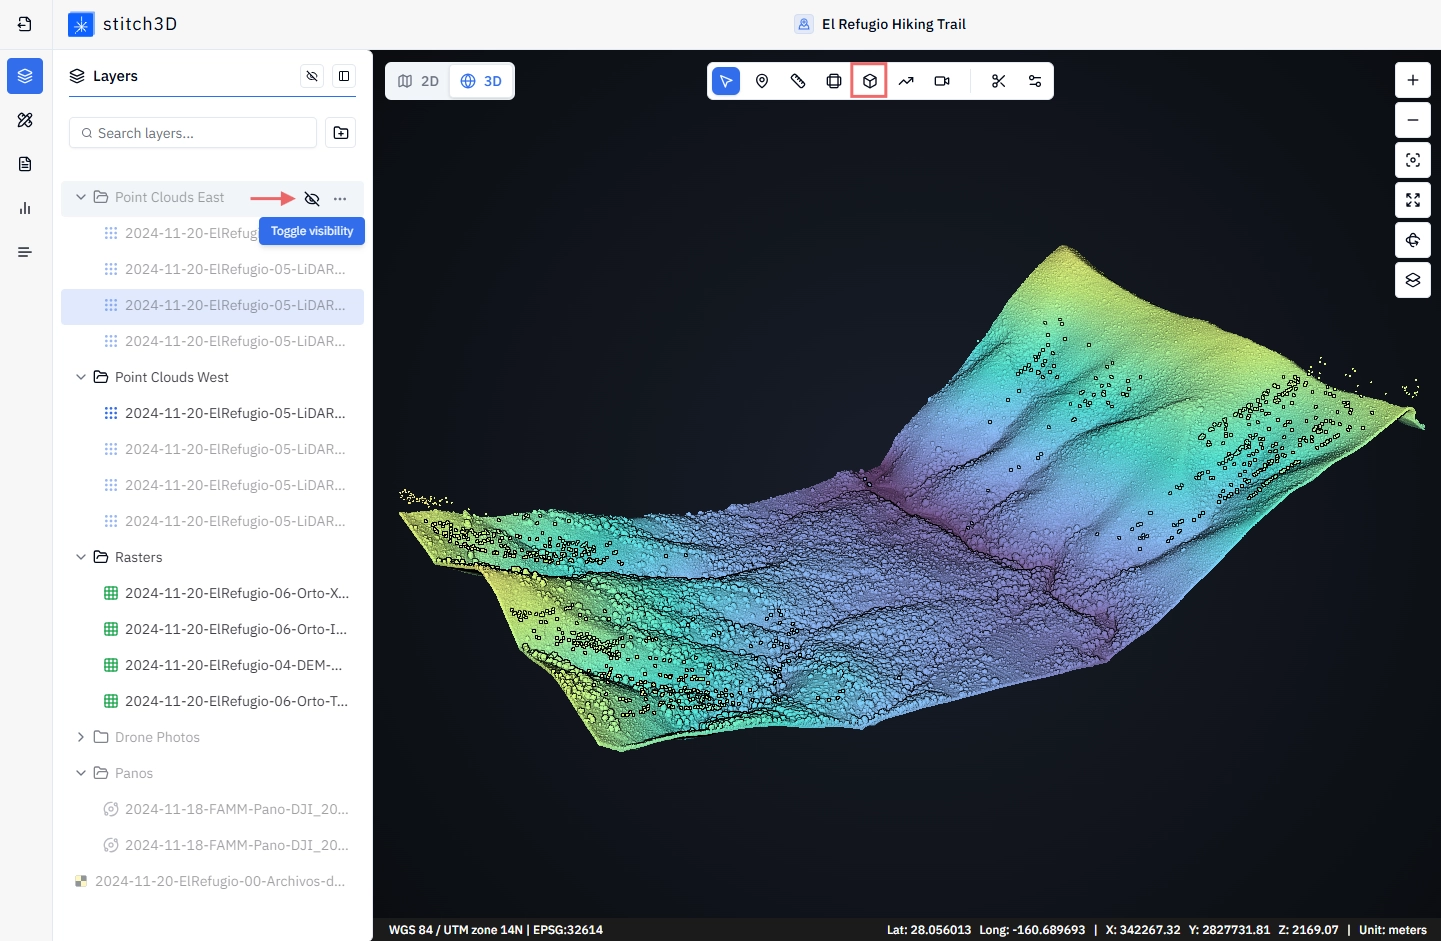
You must be in the 3D viewer. Volume measurement is not available in 2D view.
Exactly one point cloud must be visible. If more than one point cloud has visibility turned on, the volume tool will remain greyed out.

If you have multiple point clouds in your Project, hide all but the one you want to measure before activating the tool. There are two fast ways to do this:
Shift + click to select multiple point clouds in the layers panel, then toggle their visibility off
Group your point clouds into a Group, toggle the Group visibility off, then turn on only the one you need
💡 Tip: Getting into the habit of grouping point clouds by capture date or scan session makes toggling visibility for volume measurements much faster on Projects with large numbers of files.
Once exactly one point cloud is visible, the volume tool icon in the toolbar will change from greyed out to black (ready for use).
How to measure volume
Open a Project and enter the 3D viewer.
Ensure exactly one point cloud is visible.
Click the Volume icon in the annotation toolbar centered at the top of the viewer.

Left-click to place boundary points around the base of the object you want to measure. Work around the perimeter carefully — the accuracy of your result depends on how precisely your polygon traces the base of the object.

Right-click to close the polygon and finish drawing.
✅ Stitch3D automatically processes the volume calculation. Results appear in the annotation panel on the right-hand side of the viewer.

💡 Tip: Place your boundary points at the base of the object — not at the top or midpoint. For a stockpile, this means tracing the line where the pile meets the ground. This is the most common source of inaccurate volume results.
Understanding your results
Once the calculation completes, the annotation panel displays six measurements:
ℹ️ Understanding cut and fill: The best way to think about it is if you wanted to flatten the area inside your polygon, Cut is the material you'd remove and Fill is the material you'd add. For a stockpile sitting on flat ground, Cut = Net volume and Fill = 0. For an excavation or pit, Fill = Net volume and Cut = 0.
Choosing a calculation method
Stitch3D offers three base plane methods for volume calculation. The default is Best-Fit.

💡 Tip: If you're unsure which method to use, Best-Fit is the right default for most stockpile calculations. Use Triangulated when your stockpile sits on a slope or irregular ground where a flat base plane would introduce error.
💡 Tip: Run the same polygon with all three methods and compare results. The spread between methods gives you a sense of how sensitive your calculation is to base plane choice which can be useful context when creating a volume report.
Material value calculator
Stitch3D includes a material value calculator in the annotation panel that converts your net volume into an estimated mass and monetary value.
Select a material from the Material dropdown (e.g., cement, coal, gravel, sand, etc.). There are 10 preset materials available, each with a built-in density value.

Click the Edit button next to the Material name to confirm the density, price, and currency. This is a manual input; Stitch3D does not connect to live market pricing.

The annotation panel automatically calculates and displays:
Net mass — volume × material density
Net value — net mass × your entered unit price
ℹ️ Note: Material pricing is entered manually by you and is not connected to any live market data feed. Always verify current market prices independently before using the calculated value in a client report or commercial estimate.
Customizing your volume annotation
As with all annotation types, you can add context to your volume measurement in the annotation panel:
Name — give the measurement a descriptive label (e.g.
North stockpile – April 2024)Color — change the display color of the polygon in the viewer
Description — add notes, context, or any relevant details about the measurement
Collaborating with comments
If one or more Editors are invited to the Project, each volume annotation has a threaded comment section at the bottom of the annotation panel. Team members can discuss, question, or annotate results directly in context tied to the specific measurement.
ℹ️ Note: All users with access to the Project can read comment threads. Only Editors can post or reply to comments. See What are permission levels in Stitch3D? for details.
Frequently asked questions
Why is the volume tool greyed out? The volume tool requires exactly one point cloud to be visible in the 3D viewer. Check your layers panel and hide all point clouds except the one you want to measure.
My volume result looks wrong — what should I check? The most common causes of inaccurate results are:
Boundary polygon placed too high or too low — make sure you're tracing the base of the object, not the midpoint or top
Wrong calculation method for your terrain — try Triangulated if your object sits on uneven ground
Multiple point clouds visible — confirm only one point cloud is active in the viewer
Point cloud density too low at the base — sparse point coverage at the boundary of the object reduces base plane accuracy
Can I measure volume on a raster layer? No. Volume measurement requires a point cloud. Raster layers (GeoTIFF orthomosaics) do not contain the elevation data needed for volumetric calculations.