Grouping files in the Layers Panel
🕐 Read time: 4 min
Written By Clark Yuan
Last updated About 1 month ago
Overview
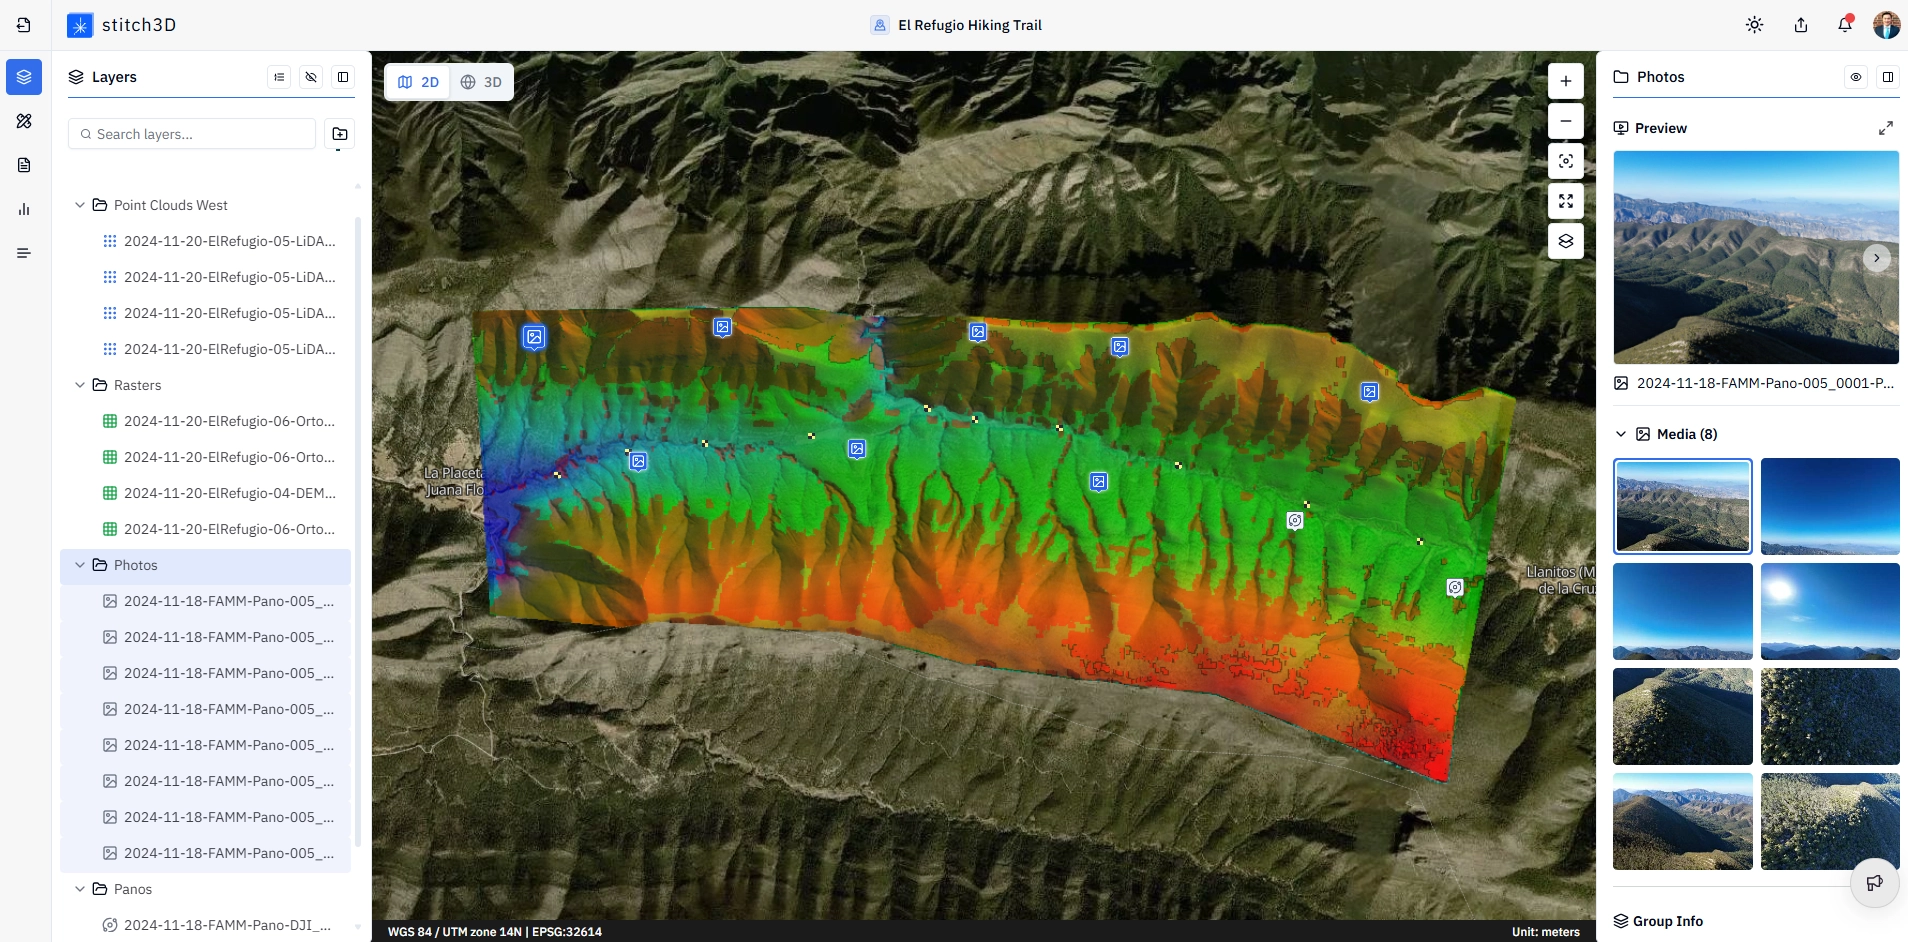
File grouping lets you organize and control multiple files together inside the Layers Panel. Groups are created in the Viewer and exist only there; it does not create folders on your Project page, and Project page folders do not appear as groups in the Layers Panel. These are two independent organization systems.
When files of the same type are grouped together, additional bulk controls become available for that file type. When files of different types are grouped, the universal group controls still apply. Either way, groups are a powerful way to manage large Projects with many layers.
How to create a group
Open a Project and enter the Viewer.
In the Layers Panel, click the Create group button next to the search bar.

A new group folder appears in the Layers Panel. Give it a name and hit enter.
Drag files into the group folder. To select multiple files at once before dragging:
Ctrl + right click to select individual files one by one
Shift + right click to select a range of files

✅ Files inside the group are now managed together.
Two ways to use groups
Grouping files of the same type
When you group files of the same type together — for example, all point clouds in one group or all raster files in another — additional bulk attribute controls become available in the Information Panel for the entire group.
💡 Tip: Grouping all point clouds from the same capture session lets you adjust brightness or switch all files to Elevation view simultaneously. This is significantly faster than opening each file individually, especially on Projects with many scan files.
Grouping files of different types
You can also group files of different types together — for example, grouping a point cloud, its associated raster, and its GCP file by capture date or site location. Mixed-type groups do not unlock type-specific bulk controls, but all universal group controls still apply.
💡 Tip: Mixed-type groups work well for Projects with multiple site visits. Create one group per visit (e.g. "Site A — March 2024") containing all the files from that capture, then toggle the entire group on or off to compare visits quickly.
Universal group controls
The following controls are available for every group, regardless of file type:
The Information Panel for a group always displays:

Subgroups
You can create one subgroup inside a group for an additional level of organization and control. A subgroup behaves the same as a top-level group and supports the same show/hide, rename, and delete controls. Subgroups are useful when a group contains a large number of files and you need finer visibility control over a subset of them.
ℹ️ Note: Only one level of subgroup is supported. You cannot create a subgroup inside a subgroup.
💡 Tip: Use a subgroup to separate draft and final files within the same capture group. For example, within a "March 2024" group, create a subgroup called "Finals" containing only the approved deliverable files. Toggle the subgroup on during client review and hide it otherwise.